The basics
This tutorial was created with metric settings and time in frames and is based on the Carrara manual from page 509.
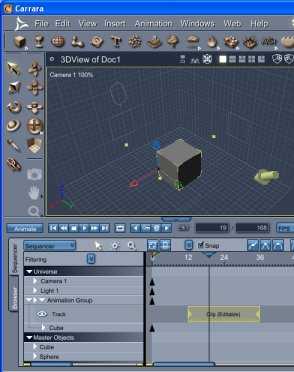
- From a small or medium empty scene.
- Add a cube.
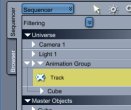
- Select it and from the animation menu, create an animation group. The manual mentions adding a track at this point but there is one already so you don't need to add another.

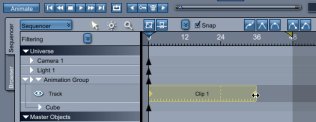
- Onto page 512 and add a clip, we will use the default duration of 24 frames.
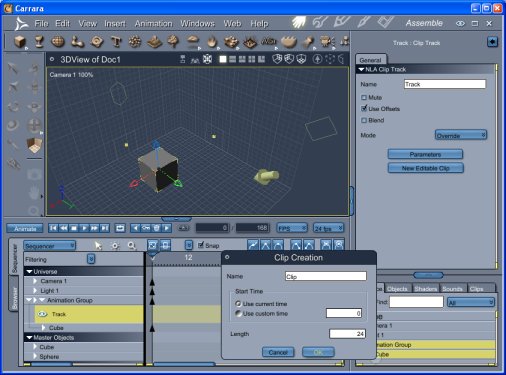
- Select your clip and it should already have a red border meaning that it's editable.
- Now, the thing that's missing in the manual, select the Cube. Press the key button
to add a keyframe for initial position of the cube. A keyframe should appear in
the red time line of the cube.
- Move the time scrubber along to frame 6. Move the position of the cube, I moved
it along and up. A second keyframe should appear in the timeline.
- Repeat this for frame 12 moving the cube back down and a little further along.
- Move the time scrubber along to frame 18 and return the cube to it's initial position. This is so we can have a looping motion in the next tutorial.
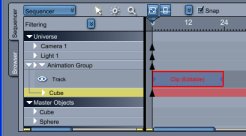
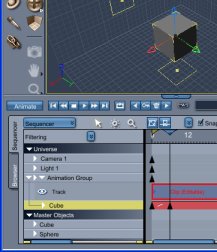
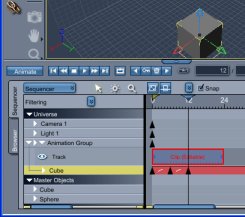
- Right click on the clip and choose Finish Editing
- That's your first clip created. You can now move the clip around in the time line and the movements will move with it.
- Save your results as we will be using them in the next tutorial.
Disabling the clip
The clips can be disabled by ticking the Mute checkbox on the track or by clicking on the eye to the left of the track.
A simple repeat
One thing that can be done with our NLA clip is to make it repeat. For this to happen we need to turn it into a master clip then drag out the duration. We will follow on from the previous example.
- Select the clip.
- Click "Convert to Master Clip" at the bottom of the properties.
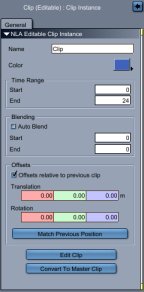
- You can deselect some of the properties here, we are making a clip for the movement of the object so we will deselect everything except the position and rotation. Press OK to create the master clip

- Reselect the clip
- Tick the box marked loop in the clip properties
- Drag the right border of the clip to the right until it is twice as long. You should see a dotted line where the clip repeats.
- That's it, you should be able to scrub the time line and see the motion repeat twice.
Coming soon, offsets, additive vs override mode and blending.
